The Best Fluffy Pancakes recipe you will fall in love with. Full of tips and tricks to help you make the best pancakes.

Introduction
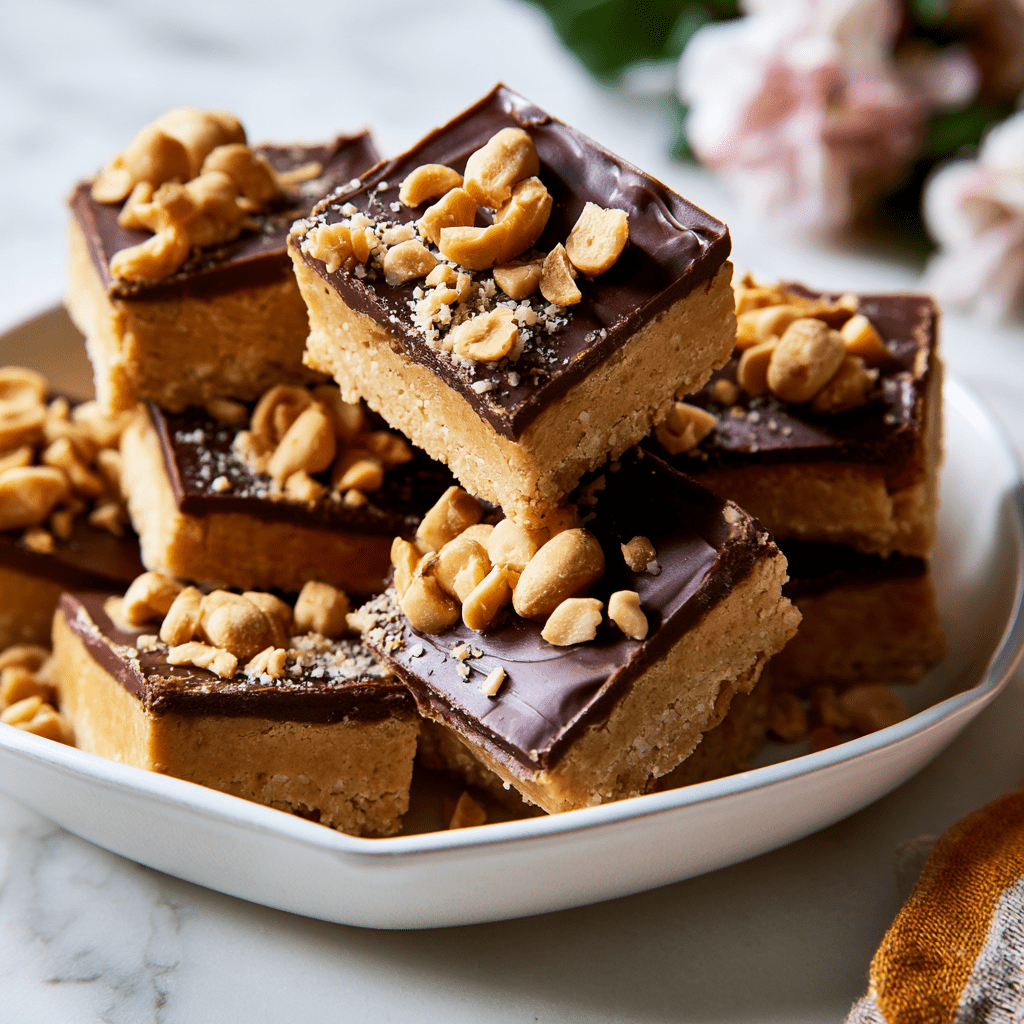
There’s something magical about desserts that take us back in time, and Lunch Lady Peanut Butter Bars do exactly that. If you ever stood in a school cafeteria line hoping your tray would include one of those rich, creamy peanut butter squares topped with silky chocolate, this recipe is for you.
These bars are the perfect blend of soft, buttery texture, sweet peanut butter flavor, and a smooth chocolate topping that melts in your mouth. The best part? They’re incredibly easy to make with simple pantry ingredients and no complicated techniques.
Unlike overly sweet store-bought bars, homemade Lunch Lady Peanut Butter Bars strike the perfect balance of salty, sweet, creamy, and chocolatey. They’re ideal for potlucks, bake sales, after-school treats, or whenever you need a comforting dessert that everyone will love.
Why You’ll Love This Recipe
- Nostalgic flavor that tastes just like the classic school cafeteria treat.
- Easy to make with simple ingredients and beginner-friendly steps.
- Soft and creamy texture that melts in your mouth.
- Perfect for gatherings because the recipe makes a generous batch.
- No fancy equipment needed—just a baking pan, bowls, and a mixer.
- Make-ahead friendly for parties, holidays, and meal prep desserts.
Ingredients
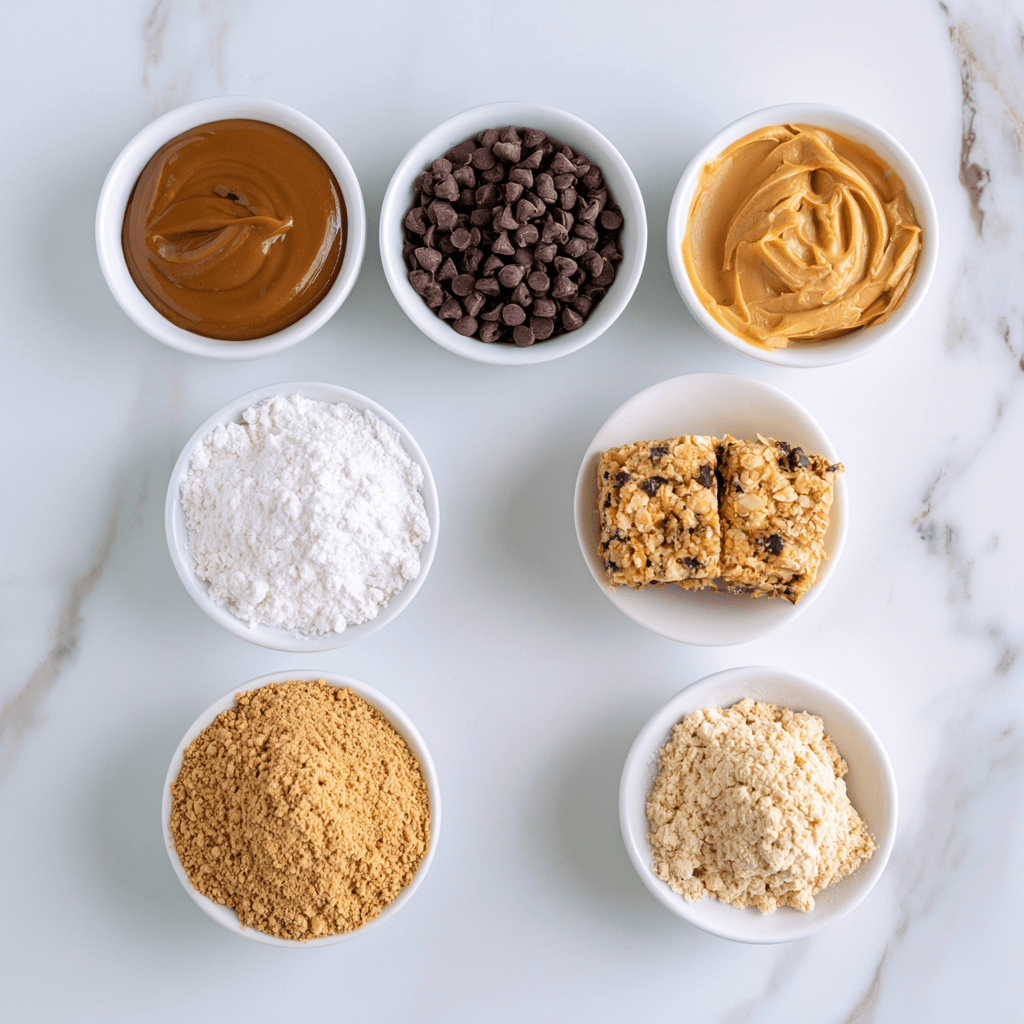
For the Peanut Butter Base
- 2 cups all-purpose flour – Gives the bars structure.
- 2 cups granulated sugar – Adds sweetness and helps create the classic texture.
- 1 teaspoon baking soda – Provides a slight lift.
- 1/2 teaspoon salt – Balances the sweetness.
- 1 cup unsalted butter, softened – Creates a rich, tender base.
- 1 cup creamy peanut butter – The star ingredient for that signature flavor.
- 2 large eggs – Bind the mixture together.
- 1 teaspoon vanilla extract – Enhances the overall flavor.
For the Chocolate Topping
- 1 1/2 cups semisweet chocolate chips – Creates a smooth, rich topping.
- 1/4 cup creamy peanut butter – Adds extra creaminess and peanut butter flavor.
- 2 tablespoons unsalted butter – Helps the topping melt smoothly.
Instructions
1. Prepare the Pan
Preheat your oven to 350°F (175°C). Line a 9×13-inch baking pan with parchment paper or lightly grease it for easy removal.
2. Mix the Dry Ingredients
In a medium bowl, whisk together the flour, sugar, baking soda, and salt. Set aside.
3. Cream the Butter and Peanut Butter
In a large mixing bowl, beat the softened butter and peanut butter together until smooth and creamy, about 2–3 minutes.
4. Add Eggs and Vanilla
Beat in the eggs one at a time, then mix in the vanilla extract until fully combined.
5. Combine Wet and Dry Ingredients
Gradually add the dry ingredients to the wet mixture, mixing until a thick, smooth batter forms.
6. Bake the Bars
Spread the batter evenly into the prepared pan. Bake for 18–22 minutes, or until the edges are lightly golden and the center is set. Do not overbake—the bars should remain soft.
7. Make the Chocolate Topping
While the bars cool slightly, melt the chocolate chips, peanut butter, and butter together in a microwave-safe bowl in 20-second intervals, stirring between each, until smooth and glossy.
8. Add the Topping
Pour the melted chocolate mixture over the warm bars and spread it evenly with a spatula.
9. Cool and Slice
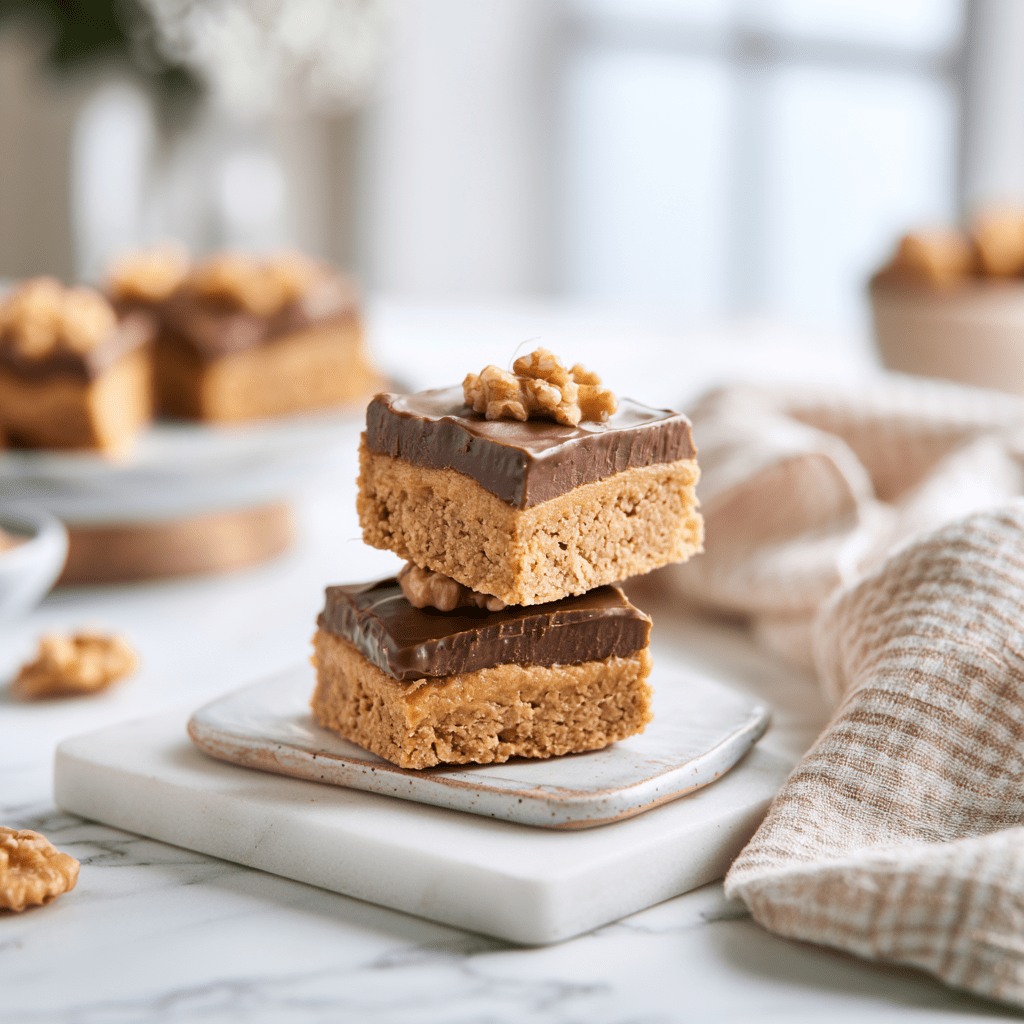
Allow the bars to cool completely at room temperature, then refrigerate for about 30 minutes to set the topping. Slice into squares and serve.
Pro Tips
- Don’t overbake: The bars continue to set as they cool, so remove them when the center is just set for the softest texture.
- Use room-temperature ingredients: Softened butter and room-temperature eggs mix more evenly and create a smoother batter.
- Line the pan with parchment paper: This makes lifting and slicing the bars much easier.
- Let the chocolate set fully: Refrigerating the bars briefly helps the topping firm up for cleaner slices.
- Use creamy peanut butter: Traditional creamy peanut butter gives the best texture and flavor. Natural peanut butter can separate and affect consistency.
Variations
1. Crunchy Peanut Butter Bars
Use crunchy peanut butter in the base or topping for added texture and peanut crunch.
2. Double Chocolate Peanut Butter Bars
Add 1/2 cup cocoa powder to the base batter for a richer chocolate-peanut butter combination.
3. No-Bake Peanut Butter Bars
Skip the baking and use a graham cracker crumb base mixed with butter and peanut butter, then top with the same chocolate layer and chill until set.
4. Peanut Butter Cup Bars
Fold chopped peanut butter cups into the batter before baking for an extra indulgent treat.
5. Salted Chocolate Peanut Butter Bars
Sprinkle flaky sea salt over the chocolate topping before it sets for a sweet-and-salty twist.
Serving Suggestions
These bars are delicious on their own, but you can elevate them even more with these serving ideas:
- Serve chilled for a firmer, fudgier texture.
- Pair with a cold glass of milk for the ultimate nostalgic treat.
- Top with whipped cream or vanilla ice cream for a dessert-worthy presentation.
- Cut into smaller squares for party platters, lunchboxes, or bake sales.
- Drizzle with melted peanut butter or chocolate for an extra decorative finish.
Storage & Reheating
Storing
- Store the bars in an airtight container at room temperature for up to 3 days.
- For longer freshness, refrigerate them for up to 1 week.
Freezing
- Wrap individual bars in plastic wrap and place them in a freezer-safe container.
- Freeze for up to 3 months. Thaw in the refrigerator before serving.
Reheating
These bars are best enjoyed at room temperature or chilled, so reheating is usually unnecessary. If you prefer a softer texture, let refrigerated bars sit at room temperature for 15–20 minutes before serving.
Common Mistakes to Avoid
- Overbaking the bars: This is the most common mistake and can lead to dry, crumbly bars. Bake just until the center is set.
- Using natural peanut butter without stirring well: The oil separation can affect the texture and consistency of the bars.
- Adding the chocolate topping to completely cooled bars: Slightly warm bars help the topping spread more smoothly and adhere better.
- Skipping parchment paper: The bars can stick to the pan, making them difficult to remove and slice neatly.
- Cutting before the topping sets: Let the chocolate firm up completely for clean, professional-looking squares.
Cultural Context or Fun Facts
Lunch Lady Peanut Butter Bars became popular in American school cafeterias during the mid-20th century. School lunch programs often featured simple, affordable desserts that could be made in large batches, and peanut butter bars quickly became a favorite because they were inexpensive, filling, and universally loved by kids.
The name “Lunch Lady” has since become a nostalgic term for classic cafeteria recipes that evoke childhood memories and comfort food vibes. Today, these bars remain a beloved homemade dessert across generations.
FAQs
Can I use natural peanut butter?
Yes, but make sure it is well stirred and smooth. Traditional creamy peanut butter usually gives the best texture and consistency.
Can I make these bars gluten-free?
Absolutely. Substitute the all-purpose flour with a 1:1 gluten-free baking flour blend.
How do I keep the bars soft?
Avoid overbaking and store them in an airtight container to retain moisture.
Can I make these ahead of time?
Yes. These bars are perfect for making a day ahead since the flavors and texture improve after chilling.
What’s the best way to cut clean squares?
Chill the bars until the topping is firm, then use a sharp knife wiped clean between cuts.
Can I add other mix-ins?
Definitely. Chocolate chips, chopped peanuts, peanut butter cups, or even crushed pretzels make great additions.
Final Thoughts
Lunch Lady Peanut Butter Bars are more than just a dessert—they’re a bite of nostalgia wrapped in creamy peanut butter and rich chocolate. With their soft texture, easy preparation, and crowd-pleasing flavor, these bars are destined to become a go-to recipe in your kitchen.
Whether you’re recreating a childhood favorite or introducing this classic treat to a new generation, these bars deliver comfort, sweetness, and satisfaction in every bite. Make a batch today and see why this timeless dessert has remained a favorite for decades.
Lunch Lady Peanut Butter Bars
Soft and nostalgic peanut butter dessert bars topped with a rich chocolate layer, inspired by classic school cafeteria treats.
Ingredients
Equipment
Method
- Preheat the oven to 350°F (175°C). Grease or line a 9×13-inch baking dish with parchment paper.
- Whisk together the flour, sugar, baking soda, and salt in a medium bowl.
- In a large bowl, beat the softened butter and peanut butter until light and creamy.
- Add the eggs one at a time, then mix in the vanilla extract.
- Gradually add the dry ingredients to the wet ingredients and mix until fully combined.
- Spread the batter evenly into the prepared baking dish.
- Bake for 18–22 minutes or until the center is set and the edges are lightly golden.
- While the bars cool slightly, melt the chocolate chips, peanut butter, and butter together until smooth.
- Pour the chocolate topping over the bars and spread evenly with a spatula.
- Allow the bars to cool completely, then refrigerate for 30 minutes before slicing and serving.
Notes
For the softest bars, avoid overbaking. Traditional creamy peanut butter provides the most authentic lunchroom-style texture and flavor.